
Contact Us


About Aqua Clear Water Systems
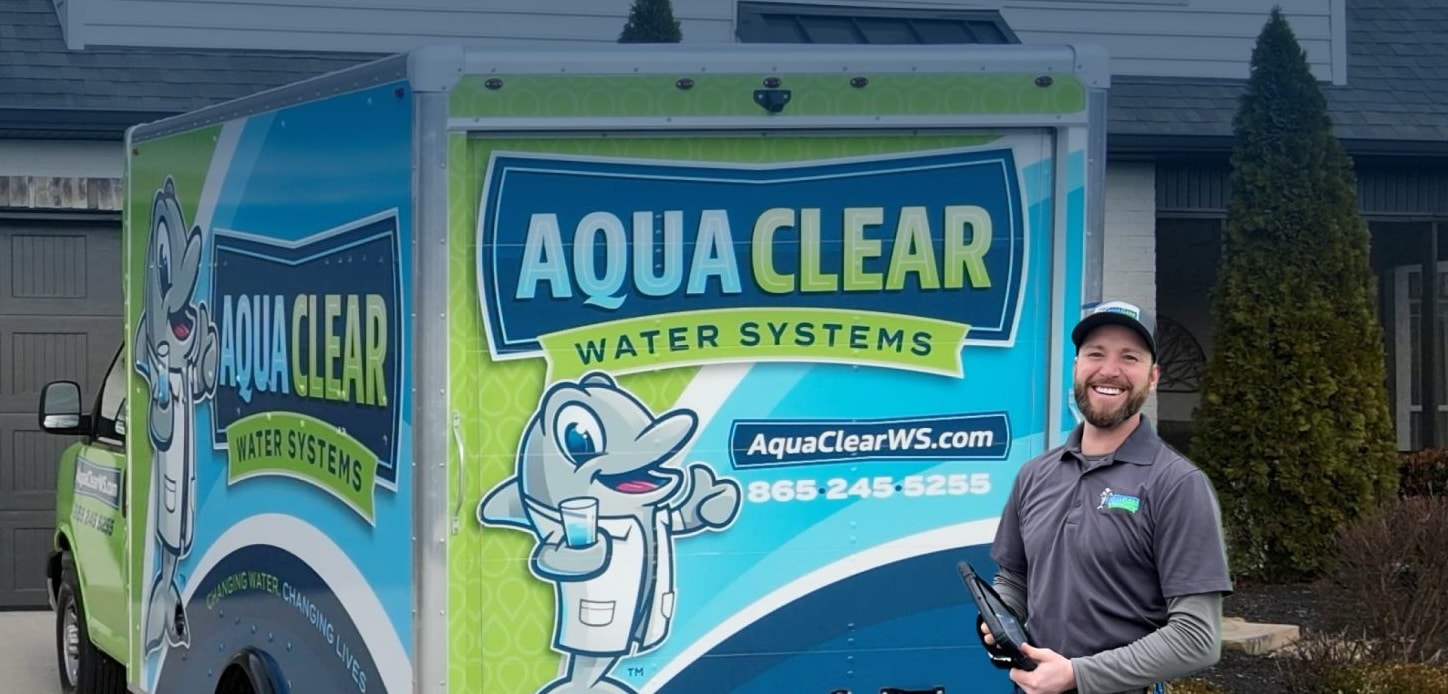
Aqua Clear Water Systems is Tennessee’s leading provider of Residential and Commercial Grade water filter systems and softeners. We’re a locally owned, family run business with a focus on providing professional customer service, premium quality products, and expert technical support.
Whether you want 99.99% pure drinking water for your family… silky soft water that doesn’t dry out your skin or leave limescale build up… or you need a commercial grade water filter system to prevent equipment breakdowns and maintenance, we’d be honored to help find the right system for your needs.
Our Mission And Values

After working in the water filter industry for more than 10 years, David Brewster founded Aqua Clear Water Systems in his parent’s garage in 2005. He started the business because he knew he could provide a better service than the companies he had worked for. And that’s exactly what he did.
Always having parts in-stock, hiring honest people, having organized and clean service vehicles, providing excellent customer service, and selling quality products. These are the cornerstones which set Aqua Clear apart from the competition and contribute to more than 17 years of success.
Still Have Questions? Check Out These FAQs
- Can a system be installed in a house that is already built?
-
Yes, systems are usually installed in homes that already built. Depending on your plumbing we can put a system in the garage, crawlspace, basement, and sometimes even outside.
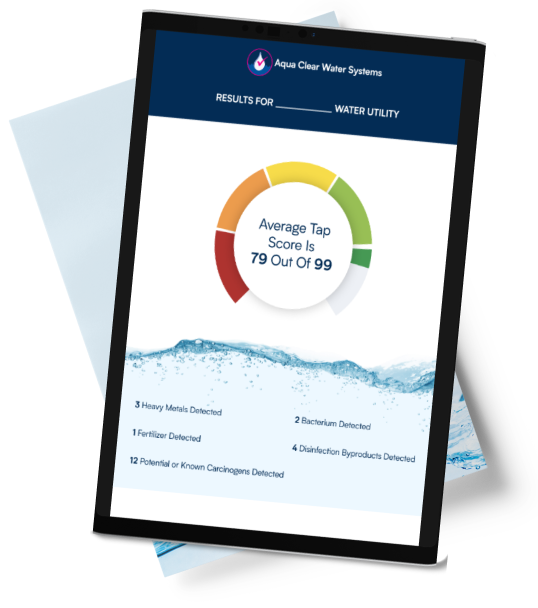
- If there is harmful things in my water why hasn't the city done something about it?
-
The city utilities do a great job at getting the water to government standards, which unfortunately haven't changed for 20 years. The EPA only sets standards for 90 contaminents in drinking water, a 0.1% of the agencys inventory of more the 85,000 chemicals that fall under the Toxic Substances Control Act. With 99% of the water used for industry and only 1% used for human consumption we have to remember it is a water TREATMENT plant not a water FILTRATION plant.
- Is this worth getting installed if I am about to move?
-
The great news is these systems can move with you! If you move local our plumbers can uninstall and reinstall your system the same day. If you move out of state we have 300+ local partners that can install our systems at your house out of state.
- Do you service my area?
-
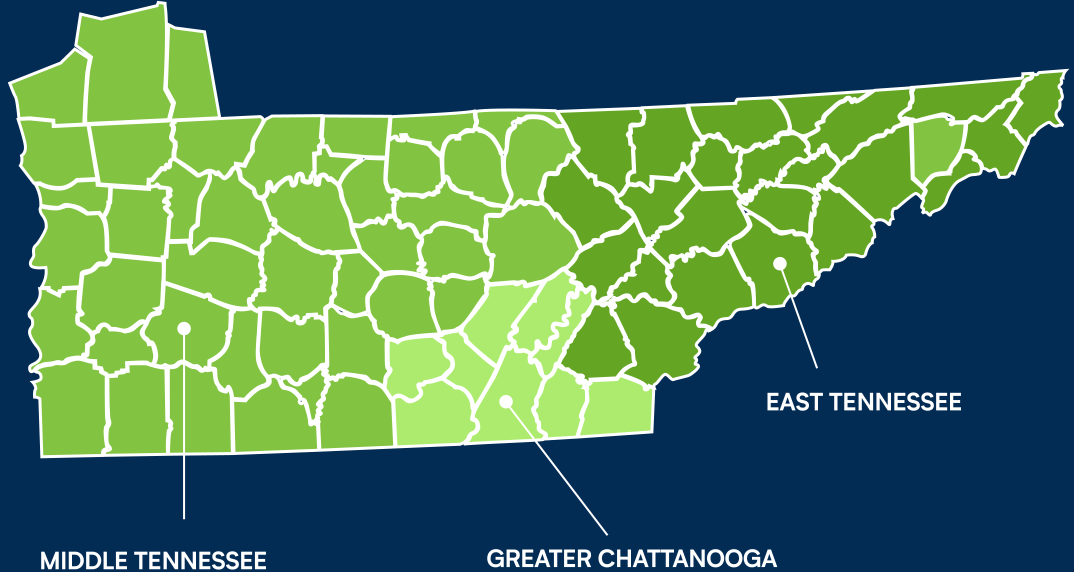
We cover all of East Tennessee. All the way to Rome, Georgia to Bristol, TN and Crossville, TN and everywhere in between. Look at our coverage map to see or give us a quick call.
- Do you use subcontractors?
-
We do everything in house! Everyone is employed by Aqua Clear Water Systems so we can provide you that white glove installation and service.
- How long does installation take?
-
We can get your equipment installed within 1 week after you pick the system you want, and installation generally takes 4-5 hours and is always done within 1 day.
- Are your systems made in the USA?
-
Yes, most of our systems are American made.
- How much do the systems cost?
-
Every system is customized to your water quality, water useage, space configurations, and your unique needs. Reach out for your no obligation free water consultation and we will be able to give you a firm price on economy, pro, and premier options.
- Do these systems need maintenance?
-
Every system is unique with some needing 0 maintenance and others need annual service that you can do yourself or we can do it for you.
- What warranties do your systems carry?
-
Our warranties go up to 15 years with no fine print. If anything breaks we replace at no cost to you for the parts.
- Where is the system installed?
-
The systems can be customized to where you want us to install it. They can go in crawlspace, garages, basements, and sometimes even outside. Once we find where the water comes into the house we can come up with a gameplan.
- Will my system require maintenance?
-
This depends on the system and specifications matched to your home and needs. Our products range from maintenance-free, to needing annual maintenance that can be done by our team, or yourself based on your preferences. Our consultants will walk you through any maintenance requirements when pairing a system with your home.

We Service All of East & Middle Tennessee
Aqua Clear Water Systems has been serving the communities in East & Middle Tennessee for almost 2 decades